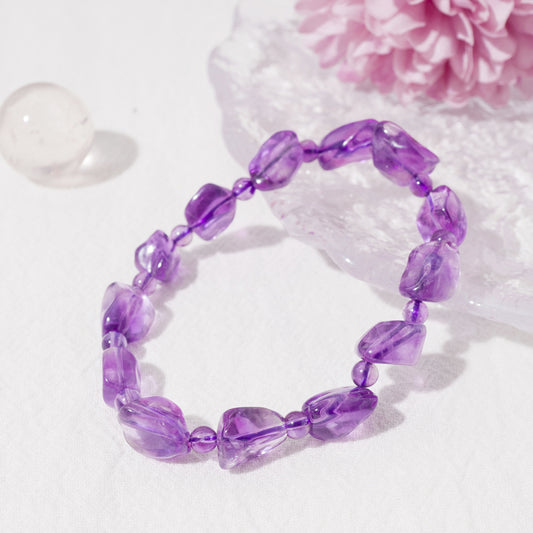
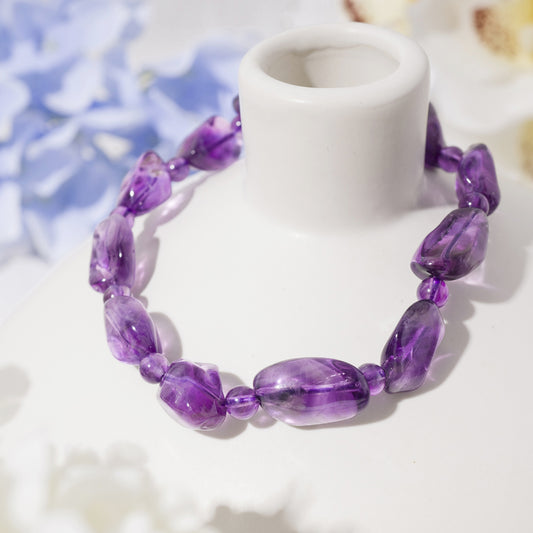
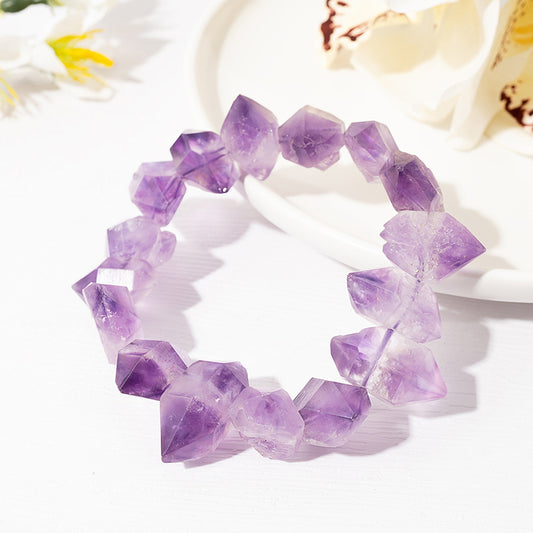
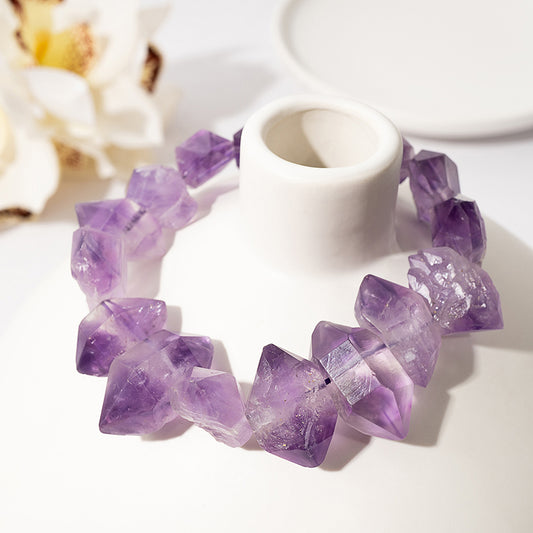
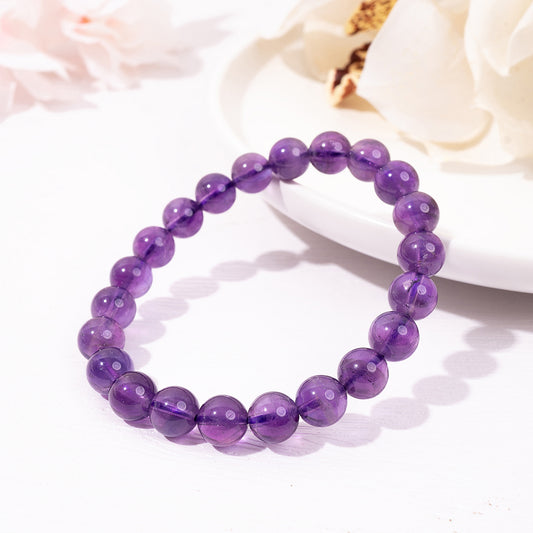
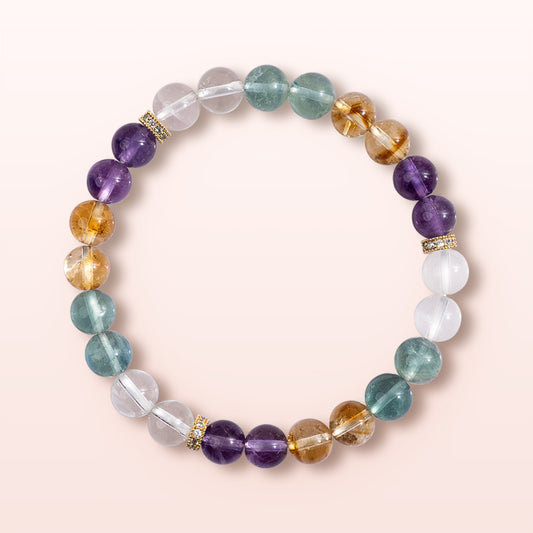
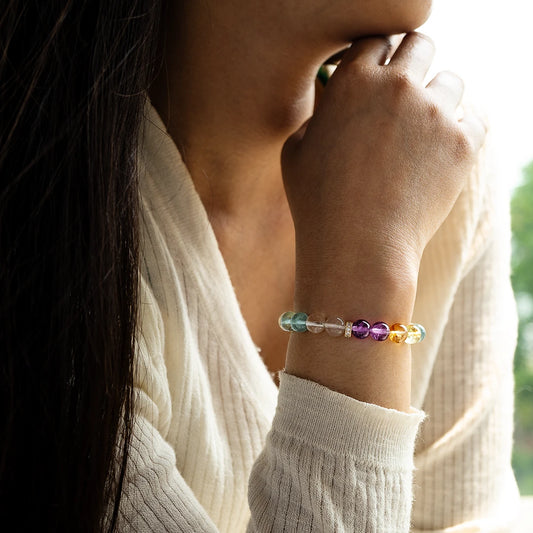
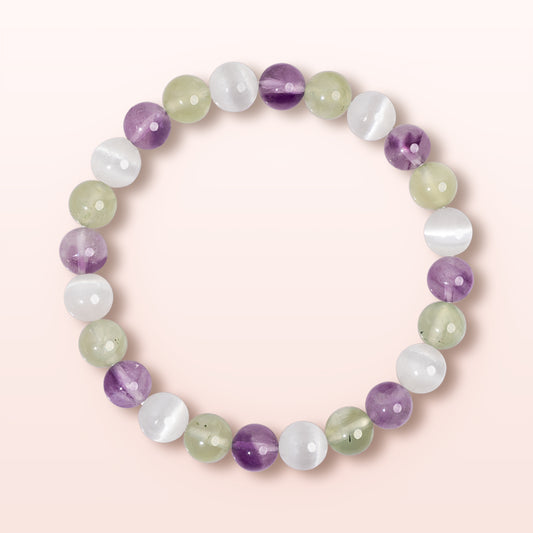
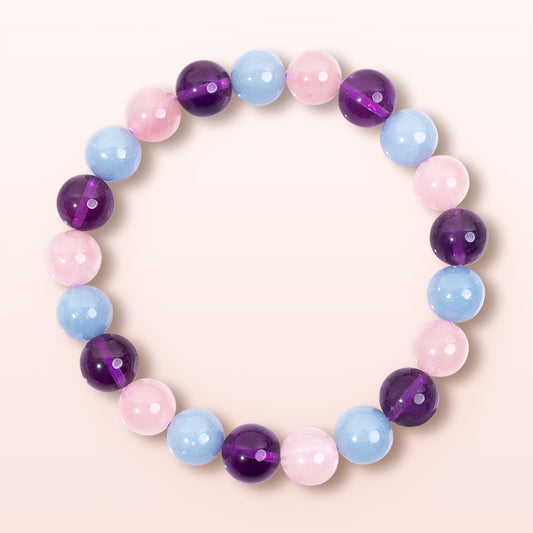
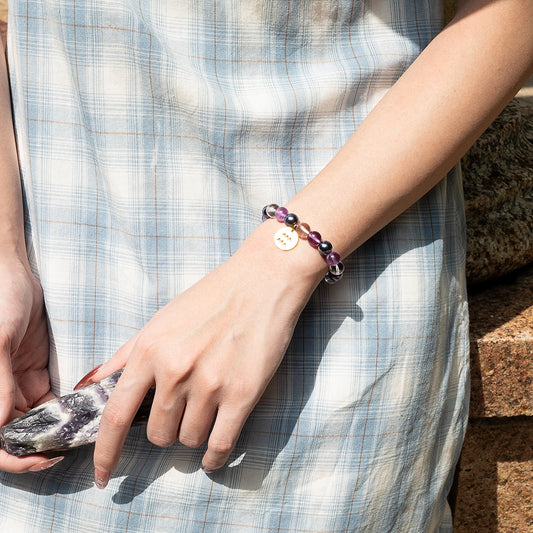
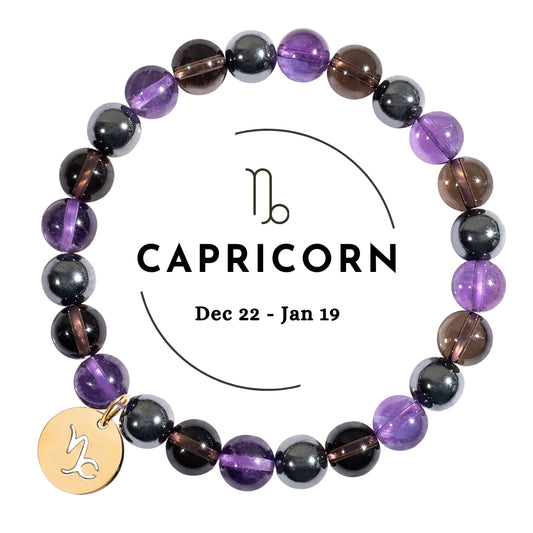
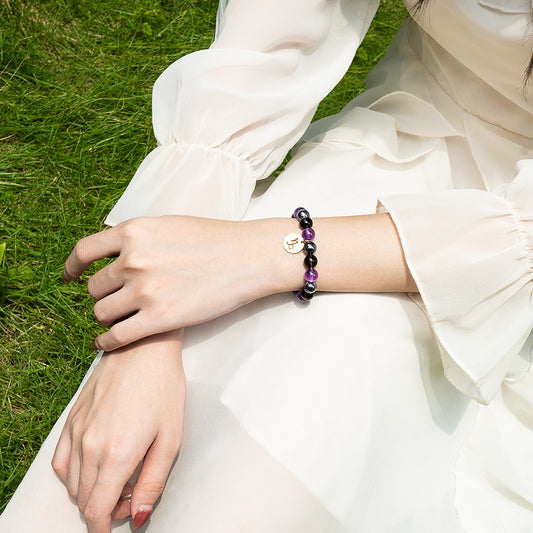
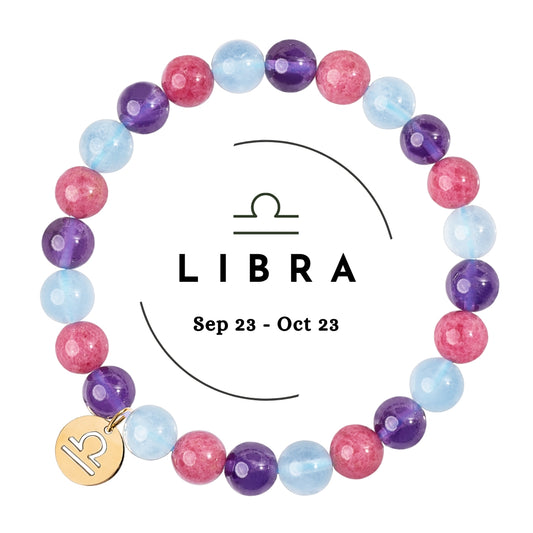
Welcome to the colorful and creative world of bead bracelets! Whether you're a crafting enthusiast or just looking for a fun DIY project, learning how to tie a bead bracelet is a fantastic way to start. In this blog, we’ll guide you through the simple yet satisfying process of making your own bead bracelet. So, grab your beads, and let's get started!
Materials You'll Need
- Beads of your choice
- Beading thread or elastic cord
- Scissors
- Needle (optional)
- Clasp (if not using elastic)
Choosing Your Beads and Thread
Before diving into the bracelet-making process, it's essential to choose the right materials. Beads come in various shapes, sizes, and materials like glass, wood, or plastic. Consider the size of the beads and the look you want to achieve. For the thread, elastic cords are great for stretchy, easy-to-wear bracelets, while beading thread is perfect for more structured designs.
Step-by-Step Guide to Making Your Bracelet
-
Measure and Cut the Thread:
Start by measuring your wrist. Add a few extra inches to this measurement for tying knots and adding a clasp if needed. Cut your thread accordingly. -
Start Beading:
If you're using a needle, thread it first. Begin adding beads to the thread, creating your desired pattern. Keep checking the length against your wrist. -
Finishing the Bracelet:
-
For Elastic Cord: Once you've added enough beads, tie the ends together with a secure knot, like a surgeon's knot. Trim any excess cord.
-
For Beading Thread: Attach a clasp to one end using a crimp bead or a secure knot, then thread the beads. Finish by attaching the other part of the clasp to the other end.
-
For Elastic Cord: Once you've added enough beads, tie the ends together with a secure knot, like a surgeon's knot. Trim any excess cord.
-
Knotting Techniques:
Learning a few simple knotting techniques, like the overhand knot or the square knot, can be helpful, especially when working with non-elastic threads.
Design Tips and Tricks
-
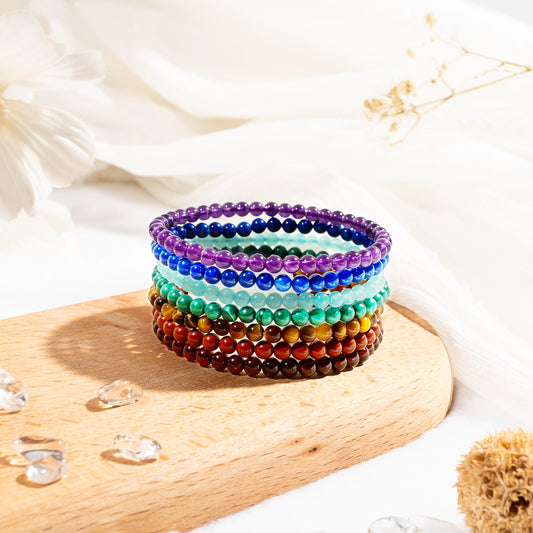
Color Coordination: Play with colors! Use complementary colors for a harmonious look or contrasting colors for something bold.
-
Pattern Play: Experiment with different bead patterns. Symmetry can be pleasing, but don't be afraid to try random patterns.
-
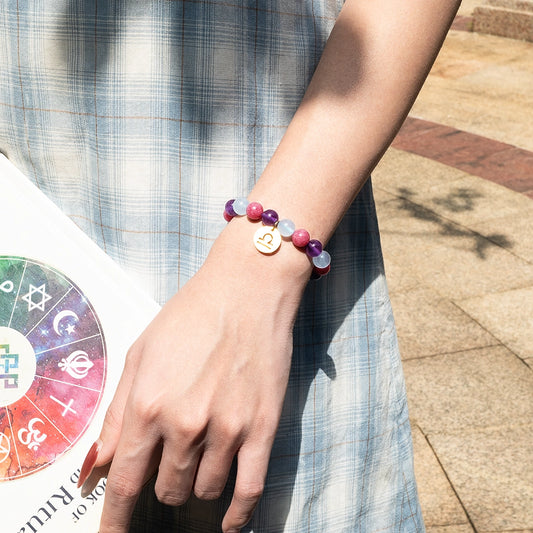
Adding Charms: Charms are a great way to personalize your bracelet. Add them between beads for a unique touch.
Caring for Your Bead Bracelet
-
Storage: Store your bracelet flat to avoid tangling and stretching.
-
Cleaning: Gently wipe with a damp cloth. Avoid using chemicals, especially on wooden or plastic beads.
If you are looking for beaded bracelets that have already been made, don't hesitate to check out our braclets collections.
Conclusion
Creating your own bead bracelet is not just about crafting; it's an expression of your personal style and creativity. With these simple steps, you can make a unique piece that’s both fashionable and meaningful. So, keep experimenting with different beads, designs, and patterns. Happy beading!

